You’ve probably seen websites where text is superimposed over images – it looks pretty amazing, right? Well, it’s not too difficult to do it yourself. In this article, we’ll show you how to add text to your website images like a pro – no Photoshop required!
Creating stunning website images is one of the most important aspects of a well-designed website. But if you’re new to photo editing, it can be hard to know where to start. In this article, we’ll walk you through the basics of adding text to your images like a pro.
Almost every website has at least one image, whether it’s a header image or an image that appears in the body of your website. But if you want to give your images a little extra pizzazz, you might want to consider adding text to them.
A website is more than just a collection of images – it’s a platform that allows you to tell your story, connect with customers, and generate leads. To help you get the most out of your website, we’ve put together a guide on how to add text to your website images like a pro!
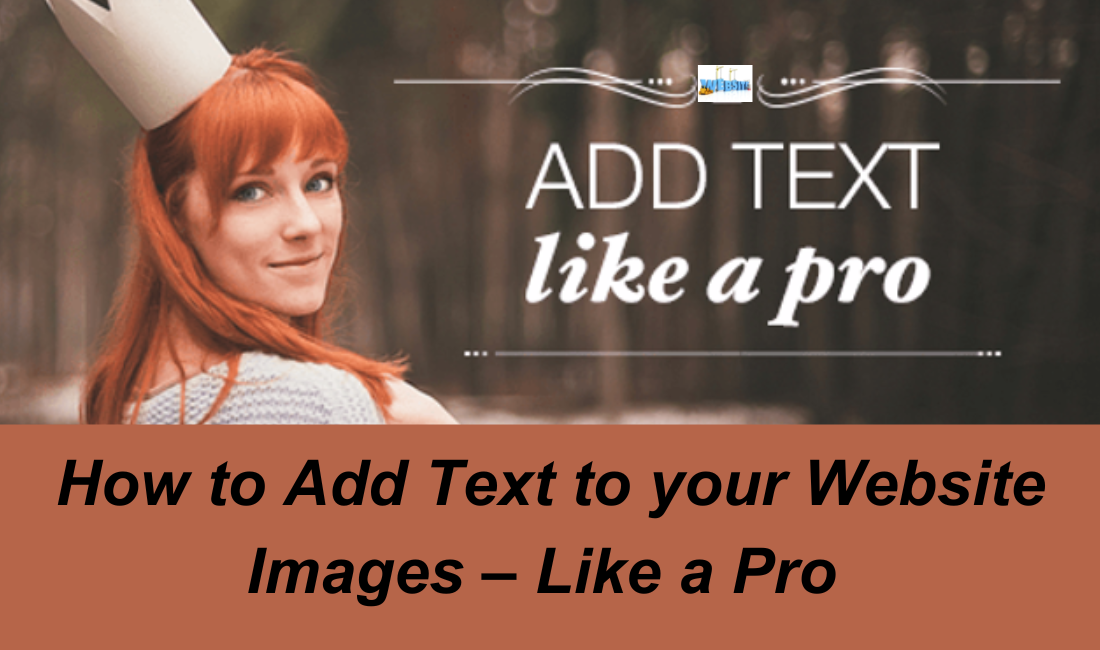
How to Add Text to your Website Images
Adding text to your website images can be a helpful way to improve legibility and brand recognition. By following these simple tips, you can easily insert text into your photos without having to use a photo editing program.
To begin, open the image you want to add text to. Next, use the selection tools in Adobe Photoshop or another photo editing program to select the area you want to add text to. You can then type in the text you want to appear in the image.
If you need help adding text to your images, be sure to consult a professional photographer or graphic designer. They will be able to help you create images that are both visually appealing and effective from a branding perspective.
Image credits: Getty Images
Adding text to your website images can really help to improve your website’s UX and appearance.
Here are some tips on how to do it like a pro:
1. Choose the right font. It’s important to choose the right font for your text, as the font size and typeface will have a big impact on how your text looks. Try to stick with a standard typeface like Arial or Verdana, which are both widely used on websites.
2. Size up your text. Make sure that your text is large enough to be readable from a distance. You don’t want people having trouble reading your text because it’s too small or too close up.
3. Use white space wisely. Don’t use too much white space around your text; it can actually make your text look crowded and mess up the spacing between words. Instead, try to keep the white space around your text relatively minimal so that the text stands out more.
Options for Adding Text to Website Images
Adding text to your website images can be a great way to add some personality and additional information to your images. There are a variety of different ways to add text to your images, and you can find the method that works best for you.
Here are a few options:
– Use image macros: If you have a collection of images that you would like to use as a collage, or for creating memes, using image macros is a great way to add text.
Just take a picture of your desired image, copy the text that you want to appear in the image, and paste it into an online editor. You can then save the image as a macro, and use it in future posts or on social media.
– Use free online tools: There are many free online tools that you can use to add text to your images. Some of these tools include Canva and GIMP.
Canva is especially good for creating graphics for social media posts, while GIMP is good for more advanced tasks such as photo editing.
Tips for Text Formatting
Adding text to your website images can make your site look professional and polished. Whether you’re simply adding a caption or providing more information about a photo, follow these tips for formatting your text correctly.
1. Use a consistent font type and size throughout your text. This will make your content look less cluttered and more organized.
2. Make sure all of your text is indented the same amount; this will help it look more structured and organized.
3. Avoid using too many quotation marks; they can be confusing and unprofessional.
4. Use consistent line spacing throughout your text; this will keep it from appearing too cramped or crowded.
Use a fun, free tool to edit images
Adding text to your website images can make a big difference in the look and feel of your site. There are many tools and services available to help you get the text exactly where you want it, without having to learn code or hire a designer.
In this article, we’ll show you how to use a fun, free tool called GIMP to add text to your images. If you want to add text to your website images like a pro, there’s a fun, free tool you can use: GIMP. GIMP is a powerful image editor that’s available for both Mac and Windows.
Plus, it’s completely free to use! Here’s how to add text to your images using GIMP: 1. Open an image in GIMP and select the Edit menu option.
Wix Image Editor
There’s a lot of text on websites, but sometimes you don’t want to use the standard text formatting. Maybe you want to add some images or videos, or you just don’t feel like using the standard font and color options.
In this article, we’re going to show you how to add text to your website images like a pro. First, open up your image editor of choice and create a new file.
We’ll be using Wix Image Editor, but the steps will be pretty universal no matter which image editor you use. Next, click on the “Image Editor” tab at the top of the screen and select the “Image” option from the menu that pops up.
Now, add a new image to your project by clicking on the “+ New Image…” button located in the bottom-left corner of your screen.
Choose your words
Adding text to website images can be a great way to add some personality and a little extra pizzazz to your site. Whether you’re a beginner or an experienced web designer, following these easy steps will help you add text to your images like a pro.
1. Decide on the font you want to use.
2. Draw a rectangle around the text you want to add, and then use the Type tool in Adobe Photoshop to select the text.
3. Click on the Text Fill button ( ) in the Properties panel of the Type tool, and choose your desired font from the drop-down menu.
4. Drag the corners of the rectangle around the text to resize it as needed. And then click on the OK button to close the Properties panel.
5. Copy and paste the text into your image using either the Edit Image option on the menus or by using keyboard commands (Ctrl+C / Command+C).